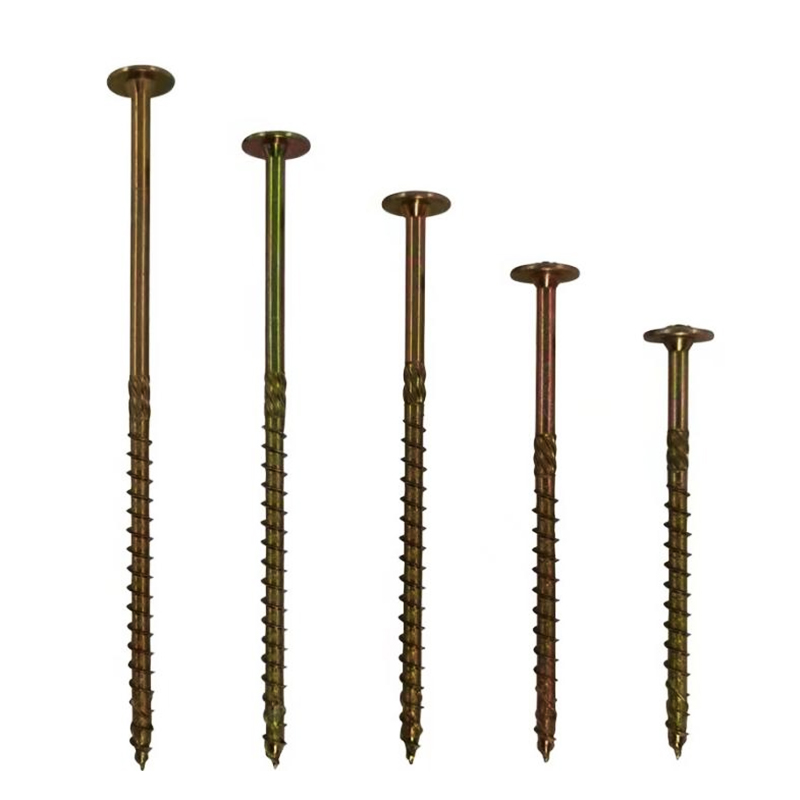
How do you prevent splitting when using Grass Rope Nails?
Grass Rope Nails, also known as wood screws, are essential fasteners in woodworking projects due to their strength and versatility. However, one common challenge when using these fasteners is the potential for wood splitting. Wood splitting can occur when the screw is driven into the wood with excessive force or without proper preparation. Here’s a detailed guide on how to prevent splitting when using Grass Rope Nails:
1. Pre-drilling Holes
Why It Helps: Pre-drilling creates a pathway for the Grass Rope Nail, reducing the pressure on the surrounding wood fibers during insertion.
Procedure:
Choose a drill bit that is slightly smaller in diameter than the Grass Rope Nail.
Drill the pilot hole to the depth of the screw, ensuring it accommodates the nail without being too loose or tight.
Best Practices:
For hardwoods or dense woods, use a drill bit that matches the diameter of the screw's core (the solid part under the threads) to avoid splitting.
2. Countersinking
Why It Helps: Countersinking allows the head of the Grass Rope Nail to sit flush with or below the wood surface, reducing stress concentration.
Procedure:
Use a countersink bit to create a conical recess at the location where the screw will be driven.
Ensure the diameter of the countersink matches the head of the screw for a secure fit.
Best Practices:
Adjust the depth of the countersink so the screw head does not protrude, which could weaken the wood or lead to surface damage.
3. Pilot Holes for Hardwoods
Why It Helps: Hardwoods are more prone to splitting due to their density. Pilot holes guide the screw without exerting excessive force.
Procedure:
Choose a drill bit slightly smaller than the Grass Rope Nail’s core diameter.
Drill the pilot hole to a depth that matches the length of the screw.
Best Practices:
Ensure the pilot hole is straight and centered to prevent the screw from veering off course during insertion.
4. Choosing the Right Size
Why It Helps: Using an appropriately sized Grass Rope Nail reduces the risk of splitting, especially in thinner or softer woods.
Procedure:
Select a nail diameter that matches the thickness of the wood being fastened.
Avoid using nails that are too long, as they can cause the wood to split when driven too deeply.

Best Practices:
For delicate or thin materials, opt for smaller-diameter nails or screws with finer threads that exert less force during insertion.
5. Lubrication
Why It Helps: Lubricating the Grass Rope Nail reduces friction during insertion, which can prevent undue stress on the wood fibers.
Procedure:
Apply a small amount of soap, wax, or specialized screw lubricant to the threads of the screw.
This helps the screw to enter the wood smoothly and reduces the likelihood of splitting.
Best Practices:
Avoid over-lubrication, as excess lubricant can affect the grip of the screw in the wood.
6. Avoiding Close to Edges
Why It Helps: Wood near the edges is more vulnerable to splitting due to its reduced structural integrity.
Procedure:
Position Grass Rope Nails at least 1-1.5 inches away from the edge of the wood.
This ensures that the wood fibers surrounding the nail have sufficient strength to resist splitting.
Best Practices:
Use additional fasteners or reinforcements if necessary to distribute the load and minimize stress on the wood near the edges.
7. Applying Even Pressure
Why It Helps: Driving Grass Rope Nails into the wood with steady pressure reduces the risk of sudden forces that can cause splitting.
Procedure:
Use a screwdriver or drill with adjustable torque settings to control the driving force.
Apply steady, moderate pressure while driving the screw, avoiding sudden movements or jerks.
Best Practices:
If using a power tool, set it to a low to moderate speed to maintain control over the insertion process.
Related products
-

Round Head Huasi Cross Series Drill Tail Screws
-

Pan Head Cross Series
-

Countersunk Cross Shaped Fiberboard Nail
-

Cross Flat Head Dry Wall Nail
-

10.9 Grade Flange Outer Hexagonal Fine Thread Bolt
-

304 Stainless Steel Teeth
-

Square Clamp Right Angle Screw
-

Iron Galvanized Flange Nut Hexagonal Anti Slip Locking Belt Tooth Washer Screw Cap
-

Stainless Steel Outer Hexagonal Bolt
-

Stainless Steel Countersunk Head Self-Tapping Screw
-

Pan Head Self-Tapping Screw
-

Hexagonal Drill Tail Screw

 English
  English
 中文简体
中文简体 русский


